
This post may contain affiliate links.
Am I the only one who hates blog editorial calendars? I constantly create them, fill them out, spend hours making them pretty and detailed and fill up MONTHS at a time. But when it comes to actually WRITING those posts, I freeze. I forget how to write. I’m uninspired, bored, and unable to actually complete the task. I’ve gone through all the exercises I can find, trying to force myself to fit into this beautiful little editorial calendar box. But I can’t.
So what to do? We all know how important it is to have a calendar, to know whats coming up and have your posts ready days/weeks/months ahead of time so you aren’t scrambling the morning of. But if you can’t plan them out, what do you do?
I’ve had a few blogs over the last 10 years. Some more successful than others, and I have repeatedly tried and failed to use editorial calendars each and every time. So instead I made a process that worked for me, and today I’m going to share it. It may not work for you, and that’s okay. But if you’re like me, and you often try and fail at editorial calendars, then I promise this is at least worth trying. Whats the worst that could happen?
The Five Step Process


1 |MAKE A SCHEDULE
Uh oh, already sounding bad isn’t it? Well here’s my version of a schedule. I first define my distinct categories that I blog under, and then assign each a day. Why? Because then I ensure I’m posting on a specific schedule – anyone familiar with my blog knows I post lifestyle posts on Monday’s, Business/Blogging on Wednesday’s, and Motherhood on Friday’s. Does it matter necessarily? Nope. It’s for me, not my readers. I doubt they have any idea.
But people LOOOOOOVE blog series’ and doing it this way allows you to naturally build one. I don’t have one right now, but I probably will soon. A series could be something such as ‘Motivational Monday’ and you post something that motivates you that day, or ‘Wellness Wednesday’ where you can share wellness tips! You could get creative with the title and tie it into your blog name. What is the benefit of a series?
- People always know what to expect from you on that day. In fact there are a few blogs that I purposely go check on certain days because I enjoy their series. (Plus once I’m there I get caught up on everything else they did that week)
- SEO -when you start repeating the type of posts you are doing, you begin becoming ‘credible’ in the eyes of Google. The repeat SEO will start pushing you towards the top of google searches using those keywords!
- Going back to the first point, people start recognizing you, especially if you have a catchy title, or a unique theme!
- Great way to engage with readers, when you’re known for something, people trust you more and are more likely to engage with you/comment/follow etc.
So here you go, step one is to narrow down your categories and assign each a day, therefore creating a schedule for your blog. You don’t have to have an actual series but if you can, its worth exploring! For more help on this step, read How Often Should You Blog? for a stress free formula! After you’ve read it, move onto step two!
2 | ORGANIZE TOPICS
The next step is to click the graphic below, to download your FREE blog content organizer zip file.
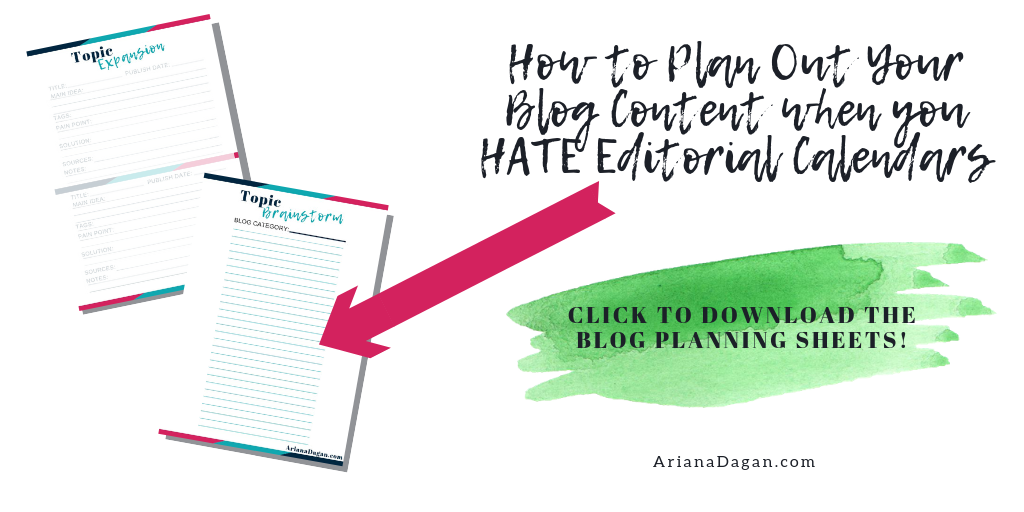

Print out as many of the ‘Topic Brainstorm’ as categories you have. For example, as I mentioned previously – I have three distinct categories, and post three times a week – so I have three copies of this brainstorm organizer printed. Title each page appropriately as such. If you aren’t into printing or just prefer digital organization, you can also use the excel version I created.
Time to brainstorm! Think of as many topics as you can under each category. Try to aim for 10-30 to really help get yourself organized. For more help with this, use 50+ Fill-in-the-Blank Blog Post Titles for any Niche! to get you started!
Here are a few places to help brainstorm topics for your category:
- Quora
- YouTube
Try using your category keywords and tags to search those websites and find inspiration. Try not to use exact titles others have used, instead consider how you can make those topics your own. Don’t worry about these brainstorm topics being exactly the final title – you can always change it later, this is just for keeping track of ideas. In fact, any title that may use a number, such as “10 Ways to do Find Topics for your Blog” – I put “X” in the brainstorm page in place of an exact number. That way, I can update it when I have the exact number and don’t have to force myself into creating 10, when I only have a strong 8, etc.
[RELATED] Hashtags are Crucial to Your Blog – Learn How to Find and Use Them + FREE Worksheets
3 | EXPAND THE TOPICS
Now time to print off a few of the ‘Topic Expansion’ pages. Actually print off a dozen. The point here is to expand everything you’ve just brainstormed in one go. I recommend carving out a solid hour or so and focus on one category at a time. This is helpful for a few reasons – it can help inspire you later, and it helps organize you to write faster and more effectively. Plus by doing it all at once, you save a ton of time because you are already in the mindset!
Use the prompts to develop your posts, write down every idea, keyword and source that comes to mind that can help you later to actually write the post.
4 | BATCH ORGANIZE
I could write a huge blog post on this topic alone, and I probably will soon. But for now, lets continue with this simple process. WHEN INSPIRATION STRIKES, choose one of the categories, and pull out every topic that is inspiring you. Try to narrow down to one similar topic line, for example lets say you choose ‘Business’ category, and you pull out every topic related to ‘hashtags’.
Now use your notes to WRITE! Do a huge brain dump using ALL of the topics under that category and their notes and sources, and (other than bad spelling errors) keep writing until nothing else comes out. I generally recommend carving out 1-2 hours of pure focus without distractions to do this. Try taking a quick 5 minute break every 20 minutes to maintain that focus. Keep writing and keep writing. Don’t even think about word count.
[RELATED] Top 7 inspiring podcasts for writers
Now that you have a huge amount of writing under ONE category and similar topics, go back to your topic expansions, and organize the content into different the different topic posts. Here is where things may change, maybe you have more topics than you thought and you’re able to break them up into additional blog posts, or maybe the opposite, and you can combine them into bigger blog posts. Again, let me reiterate – don’t even think about word count at this stage.
5 | FINAL TOUCH
Last step of this process! Personally, I organize these posts I’ve just created into my blog as drafts. Title them, add tags, assign a date using your schedule (IE: business topics on Wednesday) but make sure to space them out, for example maybe every other Wednesday, or one Wednesday a month, etc.
Now you can go back to the scheduled posts each week and expand on them, edit and format and add graphics as needed. Don’t leave it as you’ve scheduled until you’ve added these final touches. But pre-scheduling it encourages you to finish it before it goes live and makes sure you don’t procrastinate or forget! This is where you can take some time off, rest your brain, do some additional research and expand your post to hit any target word counts.
Don’t forget to repeat these steps for each category and topics on your blog!
[RELATED] Overwhelmed with tasks for your new business? +FREE Evaluation Checklist

And just like that, without using a calendar, you’ve brainstormed, organized and created content for your blog going out potentially months at a time! And because you do it in batches of similar-topics, you save a TON of time! For more help in saving time and planning, check out the Ultimate Guide to Social Media Content Planning!


SHOP LINKS | INSTAGRAM | PINTEREST | LINK PARTIES | FREEBIES